
Let’s take a shortcut to the moon, shall we?
Hello, friends,
How are you? I’ve been wanting to publish new recipes for so long and finally, I am making it! It’s been a pretty busy summer for us, from my love’s Chess tournament in Las Vegas to a friend of mine visiting from San Francisco, to day to day gardening and just tidying up with Marie Kondo. I almost cut down on social media, but I think it’s time to be back and be better! 🙂
Can you believe we are saying goodbye to summer? I know, it’s all too soon!
However, my favorite season is back! Autumn is bringing her sweetness as usual, we love, love the Chinese mid-autumn festival so much! I wrote a few posts from the super popular classic mooncakes to yolk pastry of Taiwan, and last year’s lotus pastry, and after you read it and say in your mind: That is so much work?! I would not deny it… I GET IT!
Indeed, the good things take time, and every step is something you need to be aware of if you are not familiar with basic pastry, let’s make it a little bit easier, and something better than authentic?

I can’t get rid of Baklava in my head after watching an HBO show by Tim and Eric’s bedtime story. These two comedians are truly fun in their way, a very niche crowd. This time the show is so over the top hehe, we had to binge-watch it. There is one character who was so obsessed with Baklavas that resonated with my heart. we used to go to a middle eastern restaurant right under our old apartment, and the baklavas are what I anticipate the most the whole time! We didn’t get much anymore since we moved, but now I can make my own!

Preparation time: 2 hours
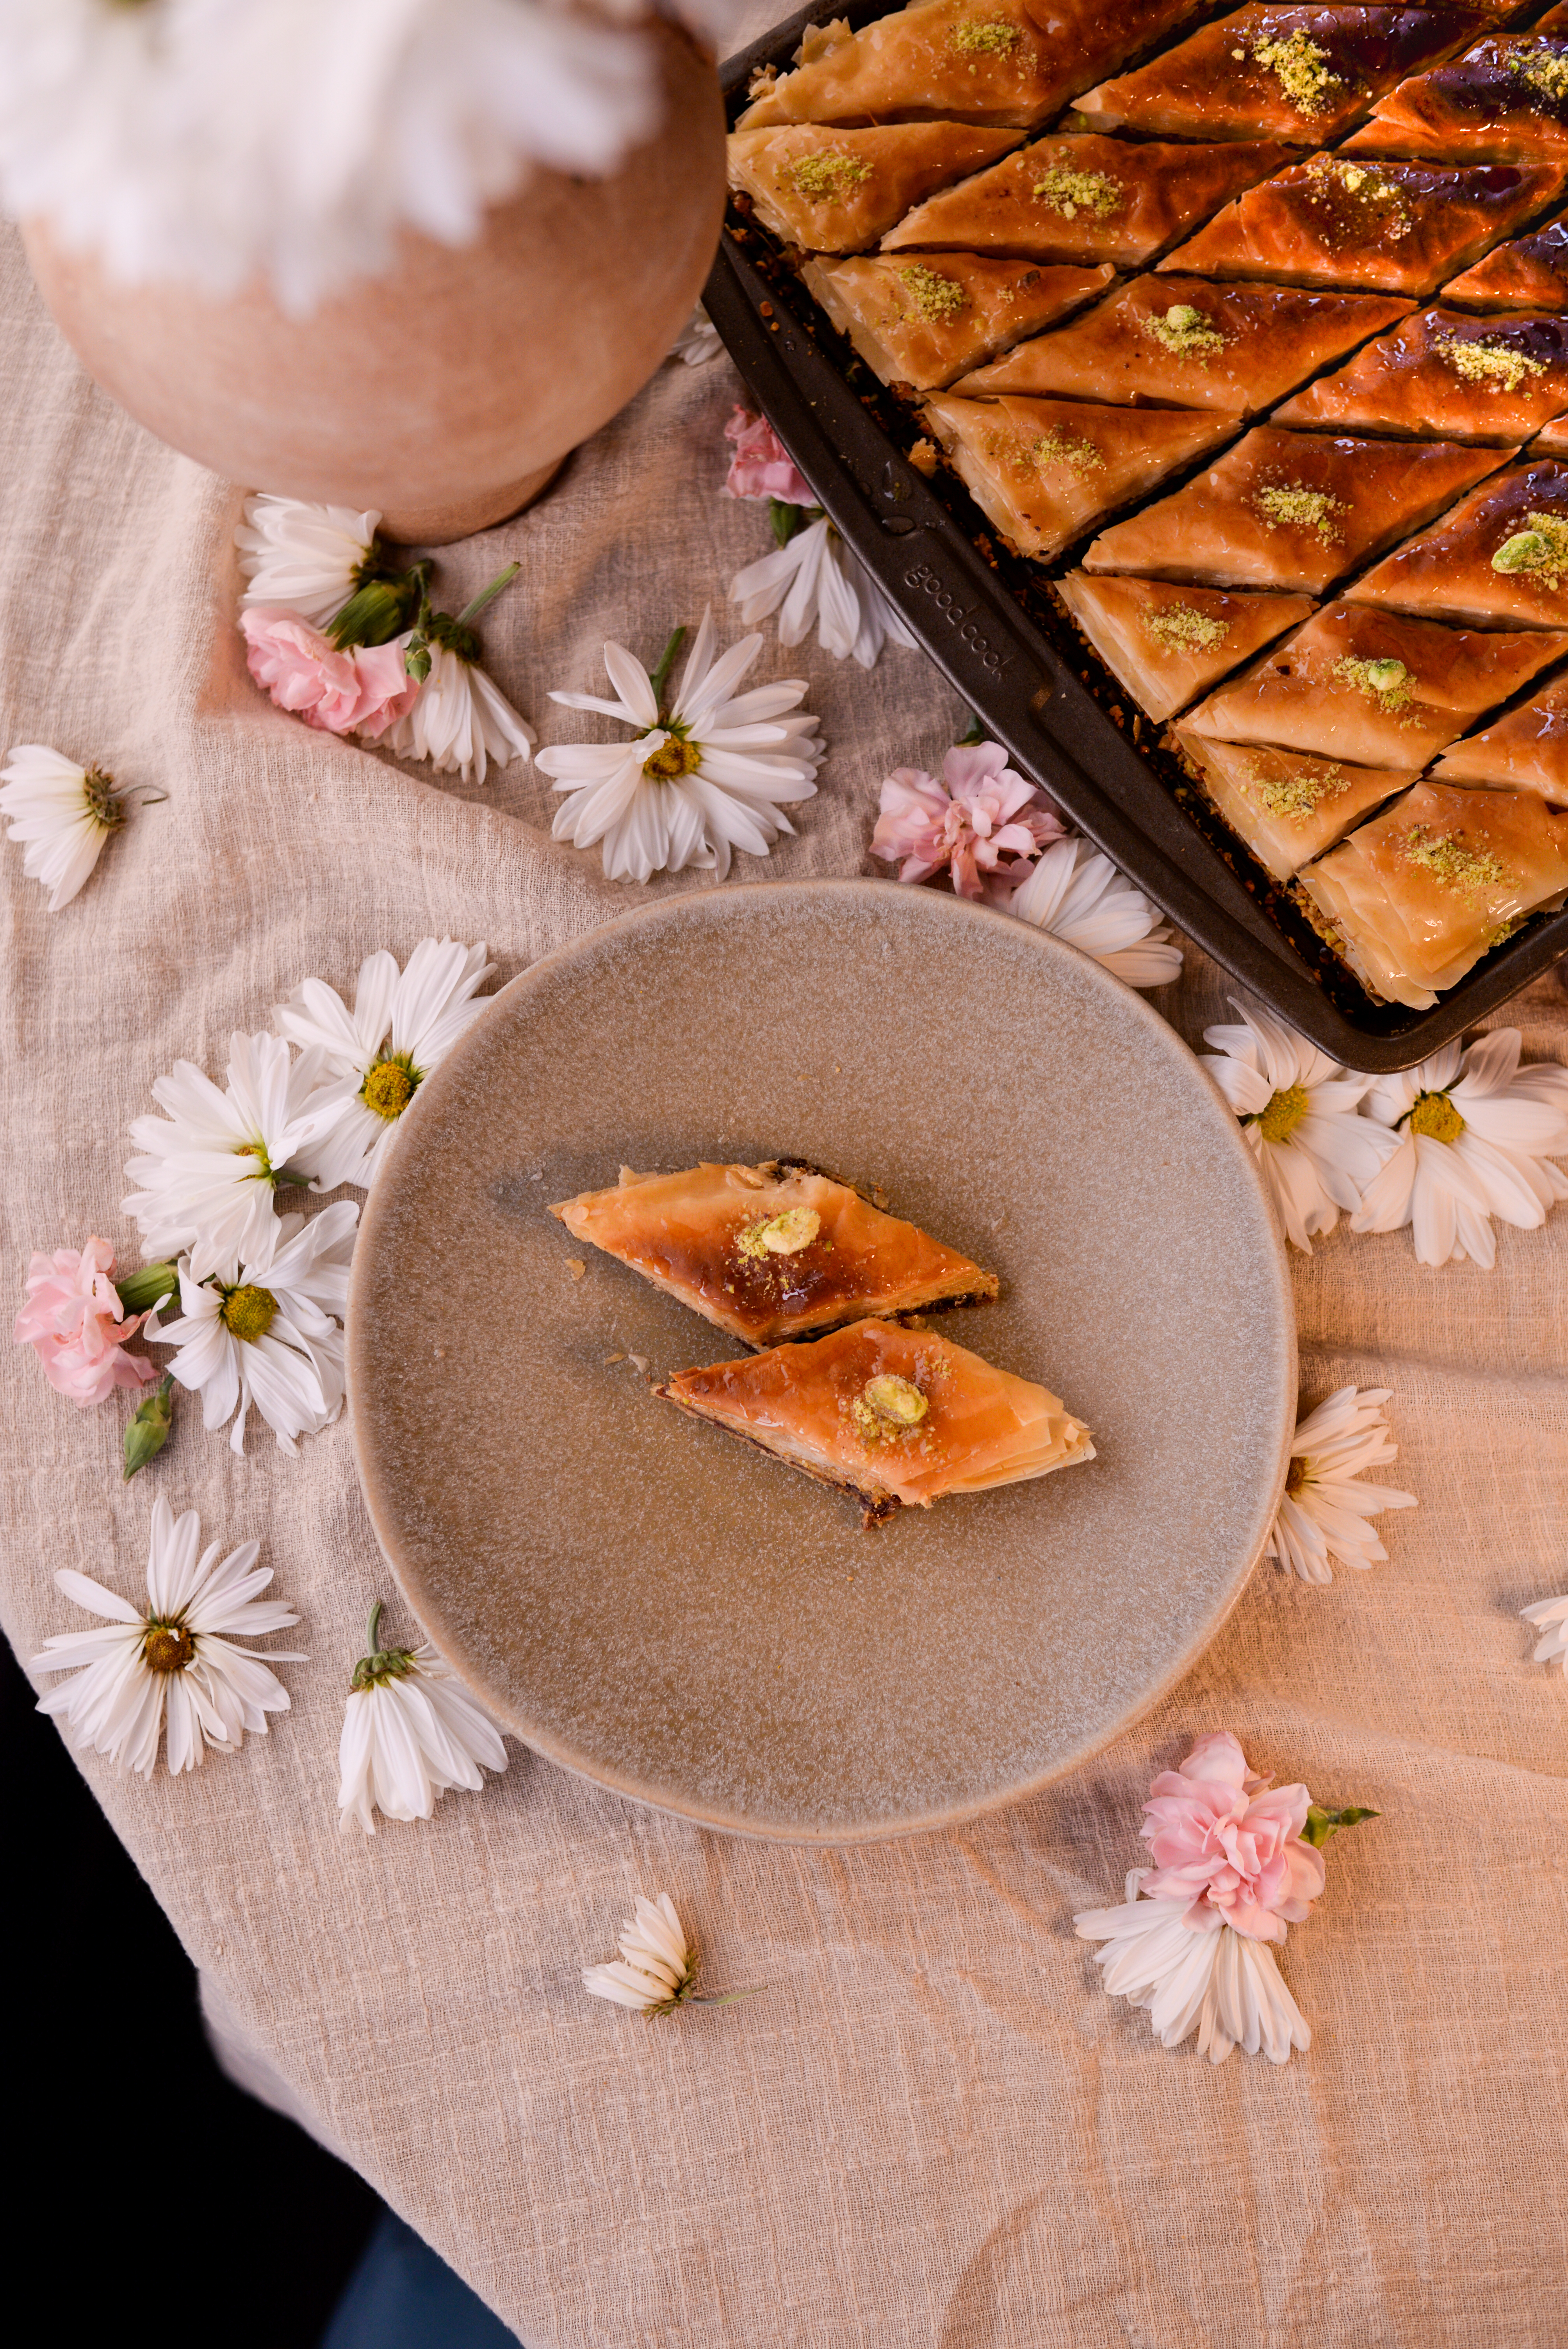
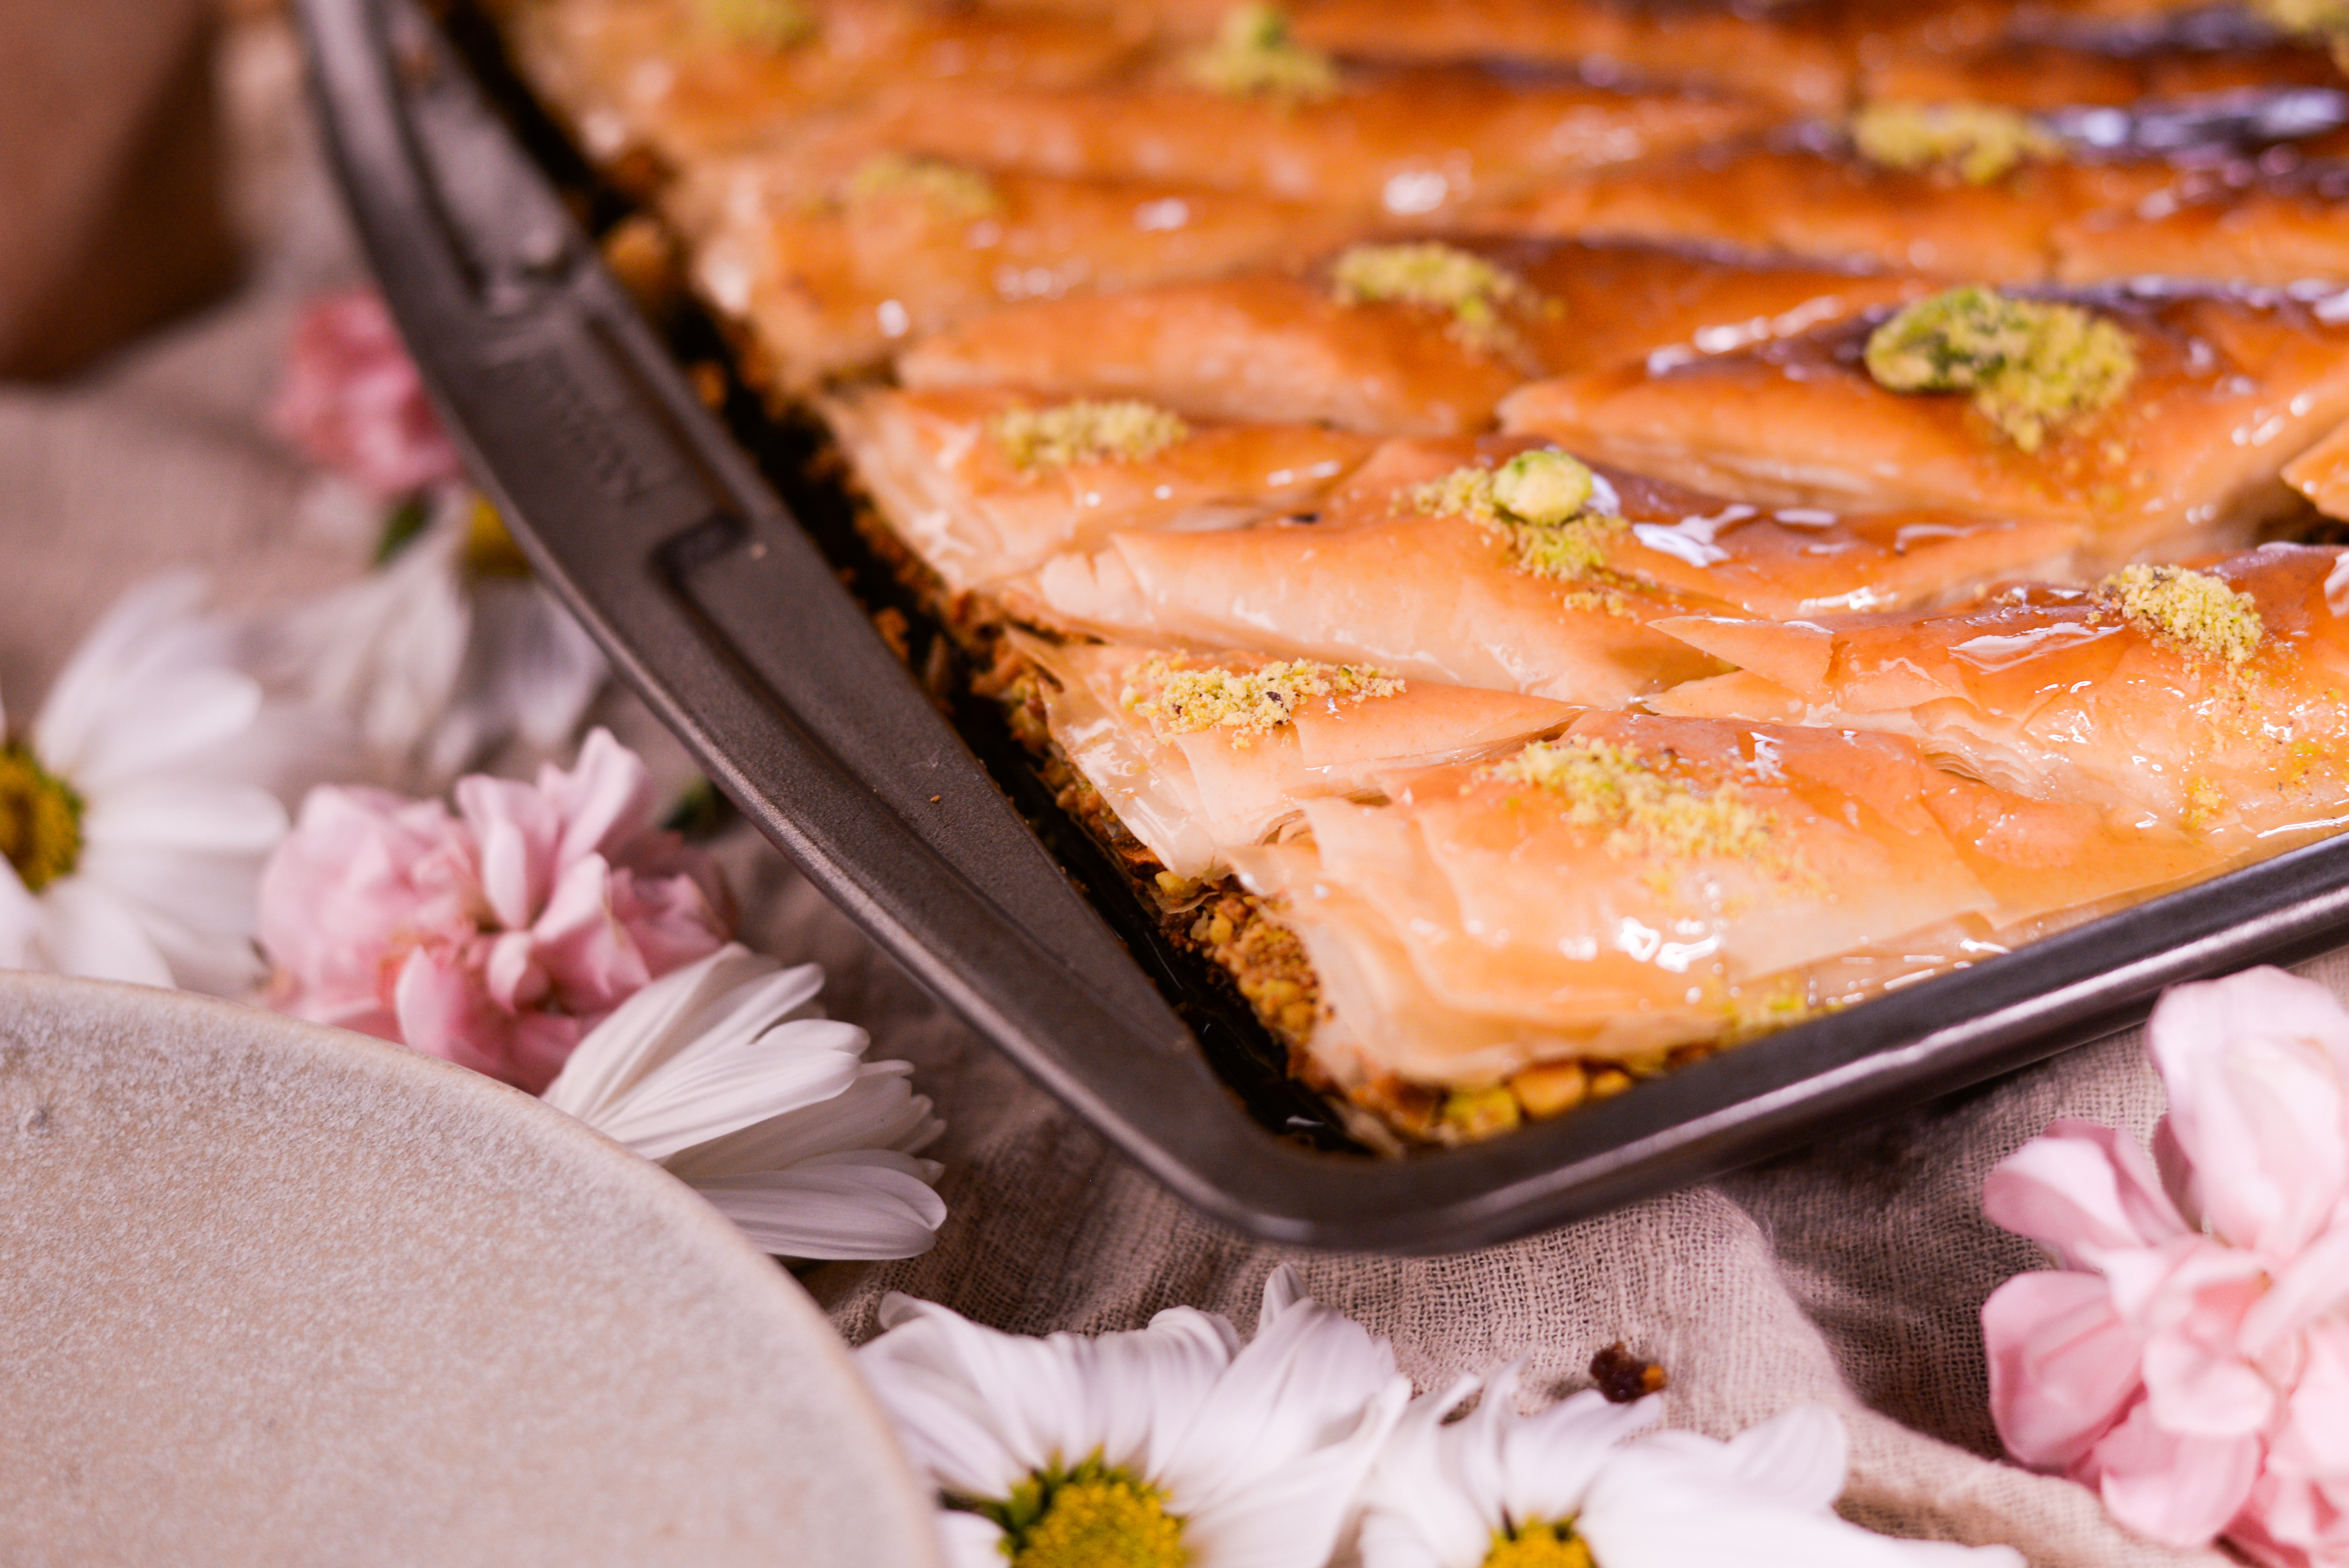
Quantity: 11X17 inch pan, make about 42 baklava
For the filling-
500g pre-made red bean paste or lotus seed paste, or other flavors you like are welcome too.
*not common in the western market, I bought mine at a Chinese supermarket, but if you can’t find it, you can make it at home. Here is my old post mention the egg yolks and red bean paste.
*Note: my measurement cup is 240ml for water
2 3/4 cups grind pistachio, not too finely like powder, leave it more coarse. I bought peeled, roasted then grind it at home
1/4 cup other nuts you like. ( I did it with slightly salted cashews, I like dessert that has more flavor texture mixed with a small touch of savory.)
For the crust-
2 packs of fillo dough! I used 1 full pack and 8 sheets from the second pack, depending on the brand you buy, we would need a total 30 sheets
1 cup of ghee (clarified butter) pre-made or homemade
For the sugar syrup-
1¾ cups granulated sugar
¾ cup water
1 1/2 tablespoons (28g/ 1oz) syrup (optional, can also use honey)
A squeeze of lemon juice
A pinch of salt
1 tablespoon orange blossom water (more or less by desired)
Steps:
*Prepare your fillo dough according to the instructions. they would need time to thaw, may require refrigerating overnight, or take out to room temperature for 4-6 hrs before working.
*Prepare ghee ( clarified butter – the reason you use as opposed to butter is it has a higher boiling point so it won’t burn your pastries), you can buy a pre-made one. or do it yourself, it’s actually easy. melt 3 sticks of unsalted butter in low to medium heat, let it boil for about 10 mins, you will see it forms white bubbles. Use a spoon to skim off the top foam until it’s clear translucent and the smell is fragrant, this may take you 15 mins. You should also start to see some milk solids at the bottom of the pan. Do not stir it! will take about 25 mins. When the ghee is done, turn off the heat and let it cool. Then strain the ghee through a cheesecloth or coffee filter into a glass storage container.
*Preheat the oven to 300F/ 150C.
*In a small saucepan, mix sugar, salt, water in medium heat, until it is boiled, adding in the lemon juice, glucose syrup (or honey) stir it nicely, cook for 5 mins, then once it is done, add the orange blossom water for a fresh floral touch. remove the saucepan, let it fully cool down.
*Cut the fillo dough to match your baking pan size. Prepare a damp clean towel or plastic wrap to cover on the top of the fillo dough to prevent drying out. Always be careful on this, once the sheet is too dry it will break easily.
- Brush your pan with ghee, put the first layer of fillo dough, flat it with your hand, then brush with ghee again, make sure every layer is flat without air bubbles, you will need to repeat this 7 times, for a total of 8 layers.
- Put the red bean paste onto the fillo dough, since bean paste is hard and sticky in nature. you can put it into your hand, flat it in your warm palm, then put it on the fillo dough, fill the whole pan evenly, then put another 6 layers of fillo dough as step 1.
- Mix the pistachio and the other nut of your choice together, then divided by two, put one portion on the fillo dough, fill the whole pan then put another 6 layers of fillo dough as step 1.
- Repeat the whole step 3, but at the end put 10 layers on the top, then brush ghee on top.
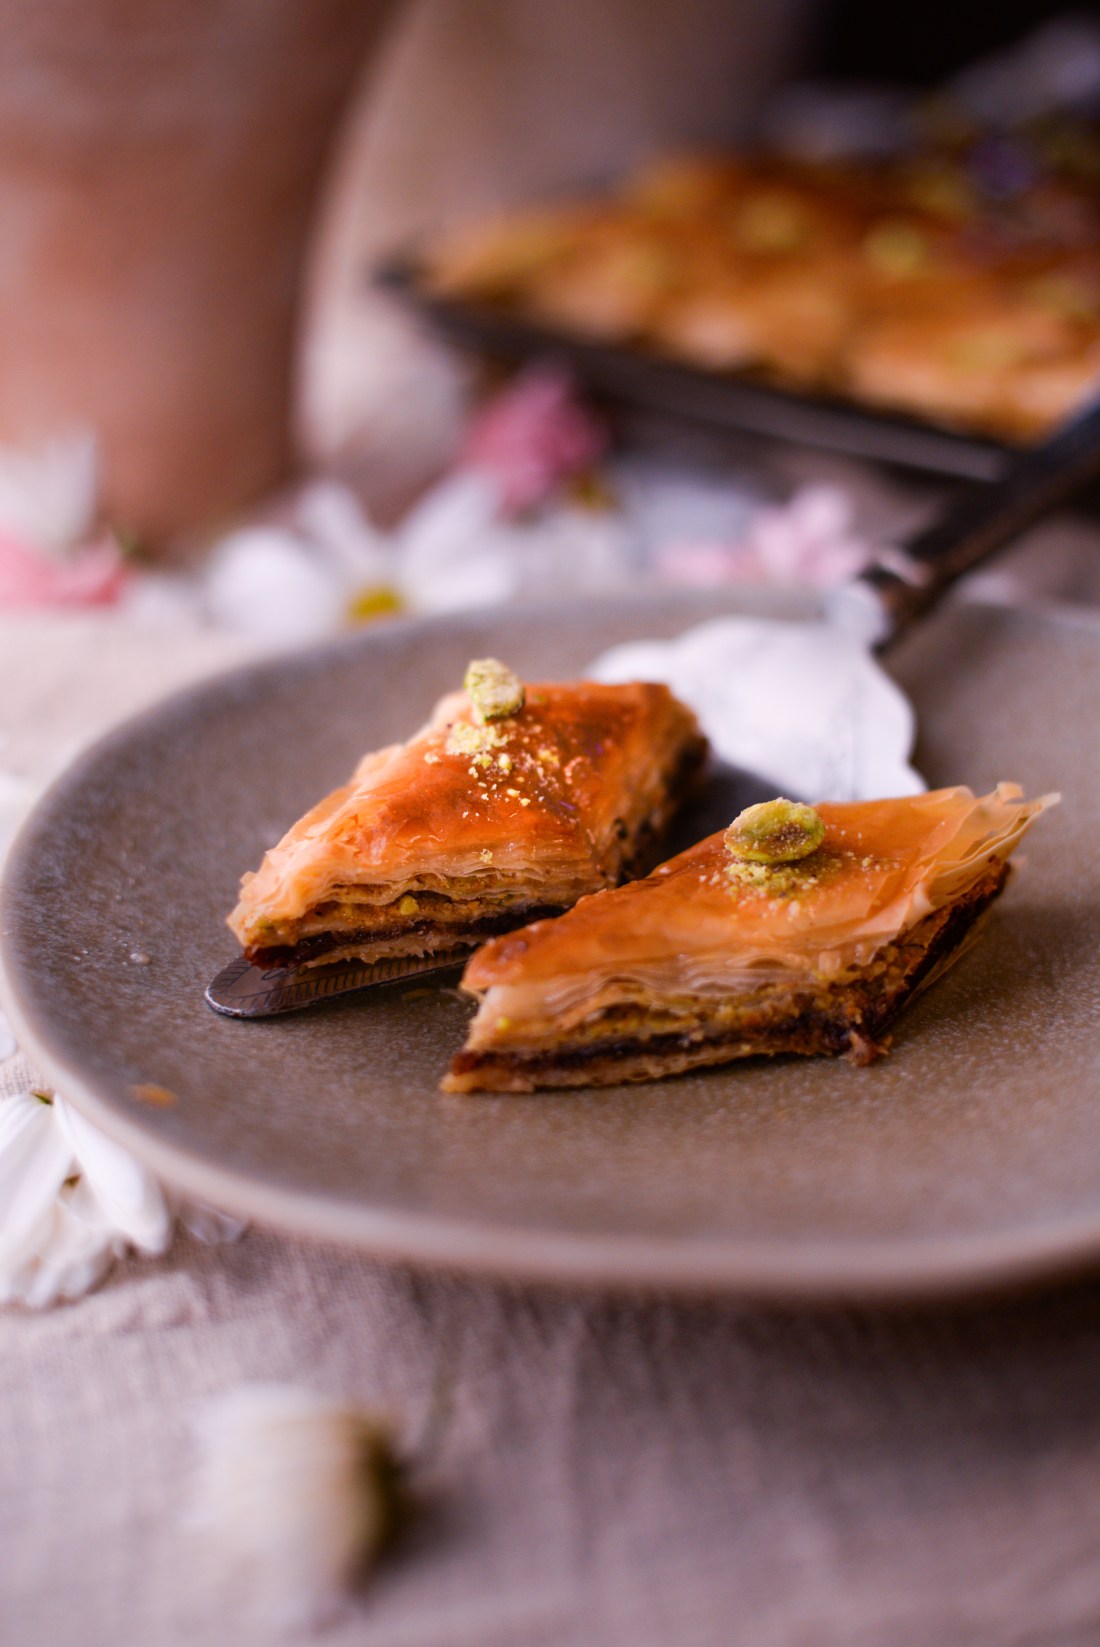
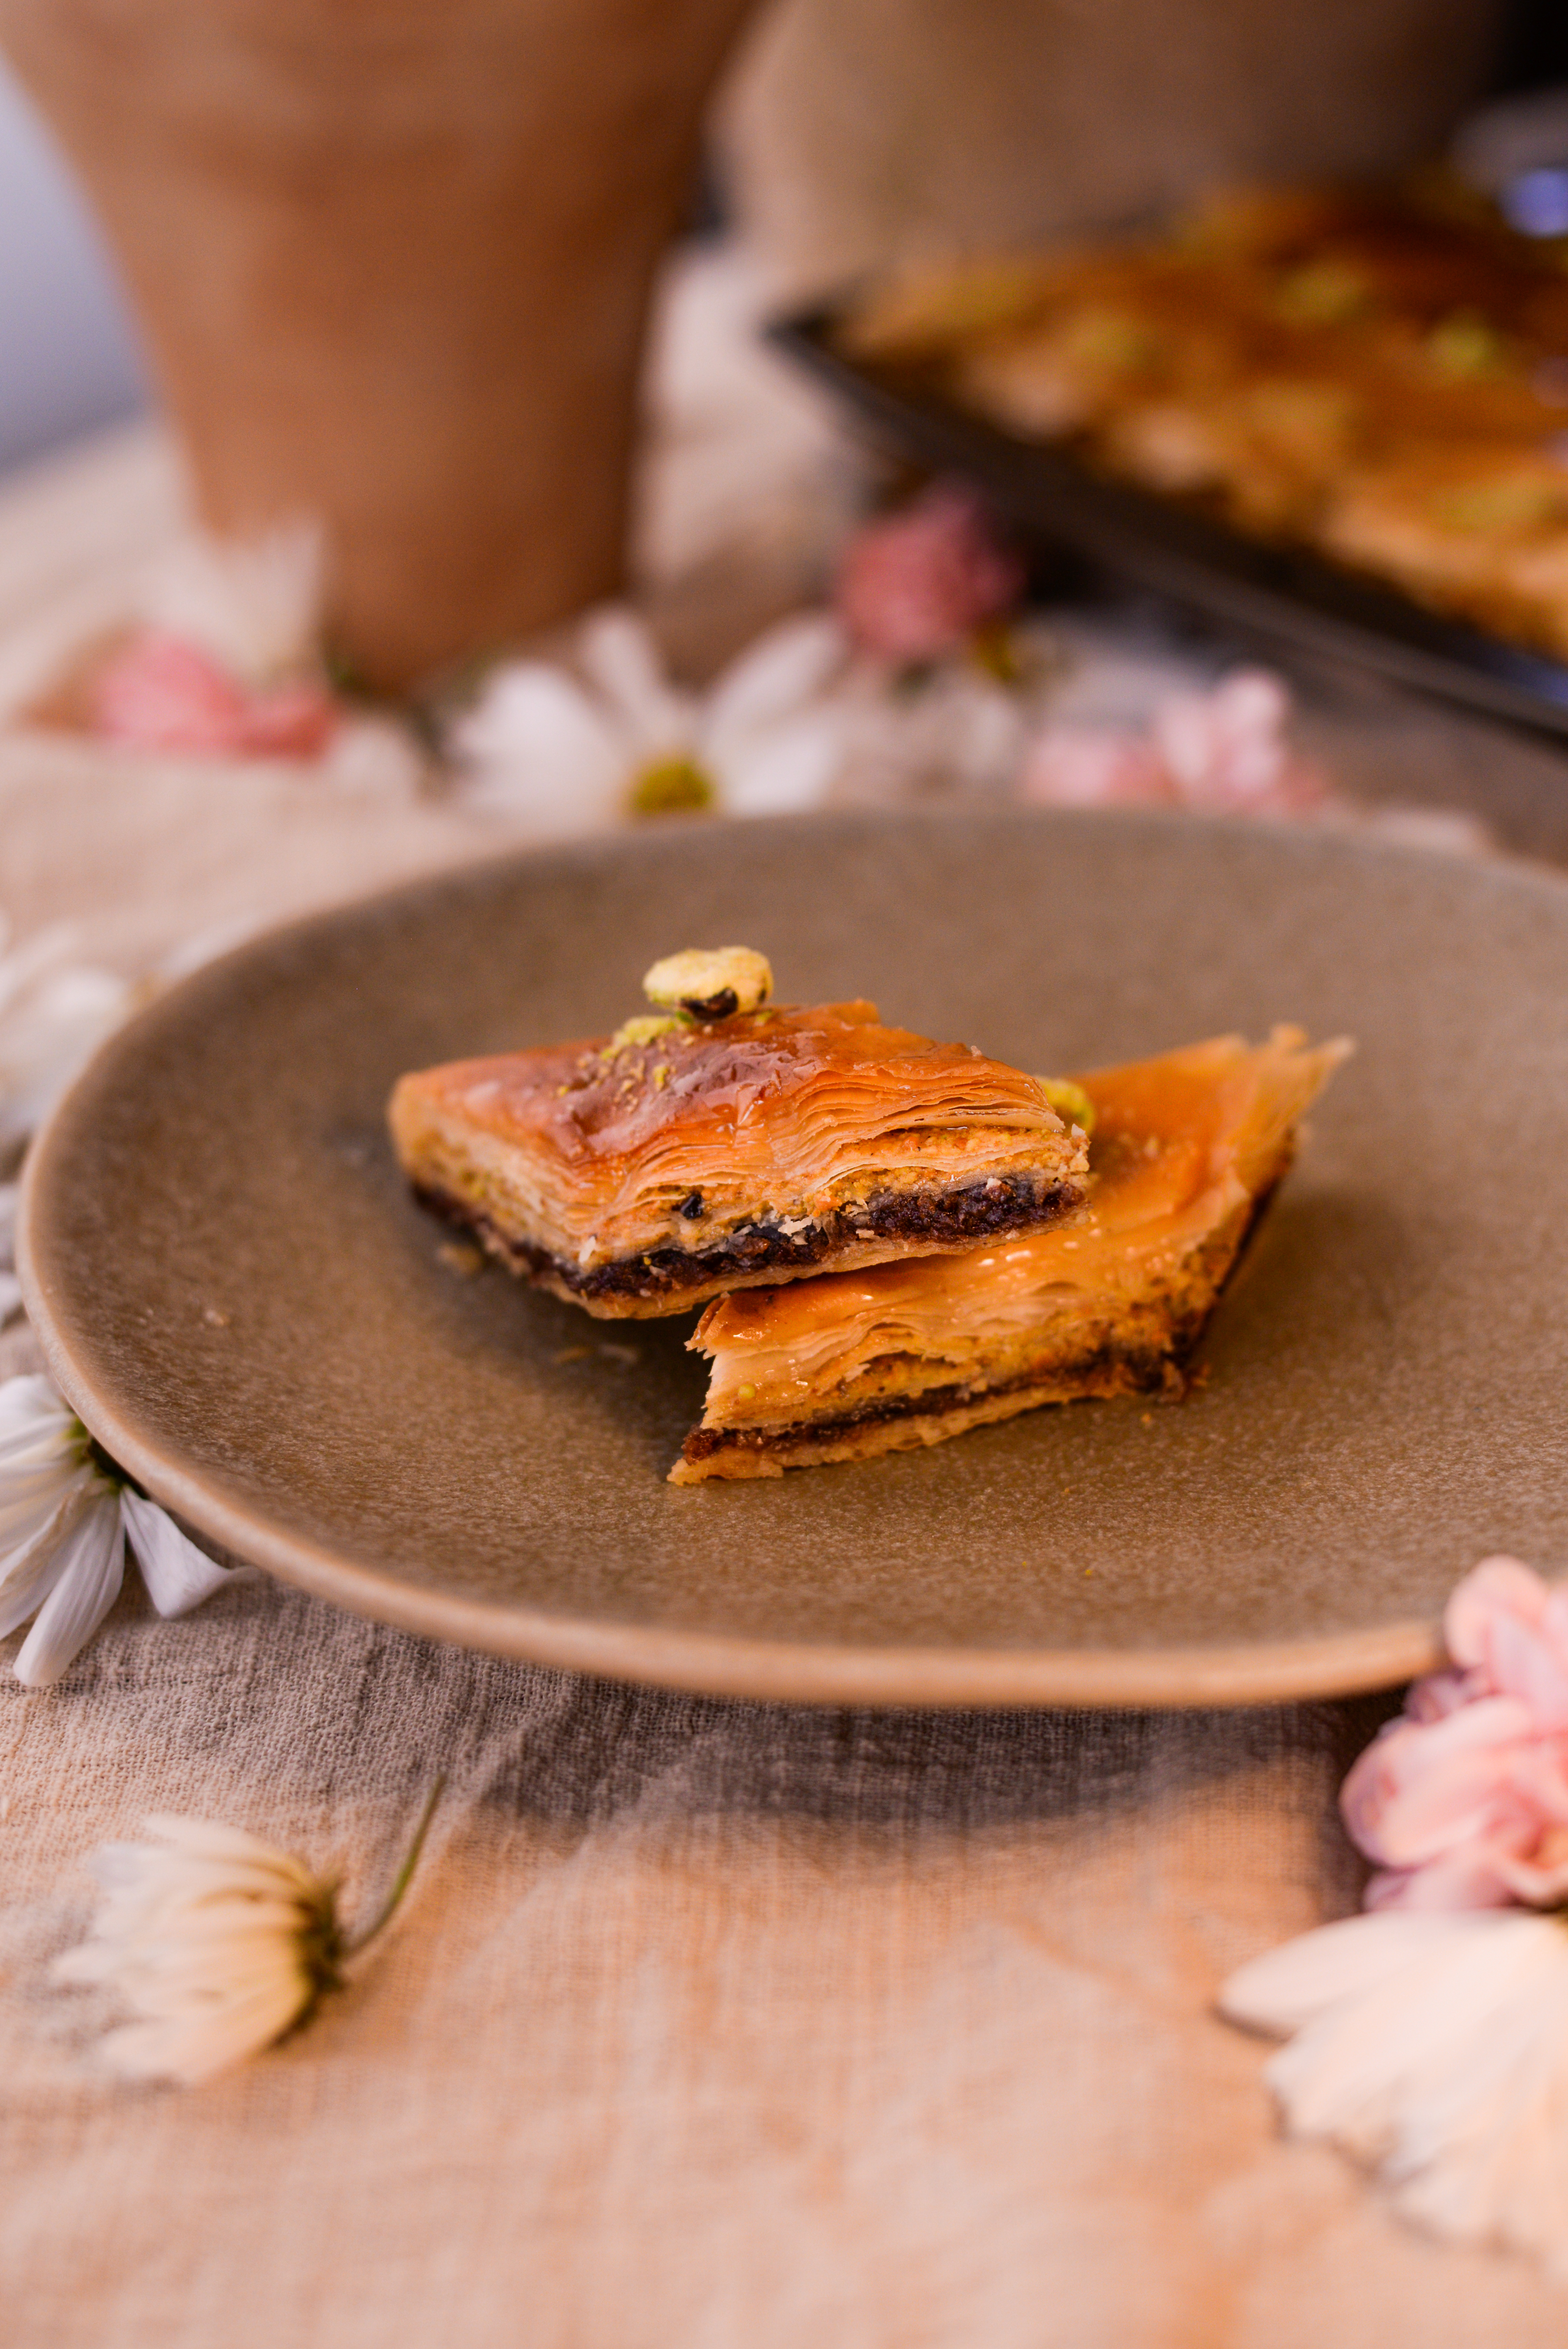
- Now, you can cut the shape as you desire, squares, triangles, rectangles. I keep it classic with diamond shapes. Use a very sharp knife to cut 5 times vertically to form 6 rolls, then cut it diagonally. I don’t want to waste any bit of goodness! 🙂
- Time to bake it! Bake the baklava until golden and crisp, which will take about 1 1/2 to 1 3/4 hours (I do 1 3/4 hours because my oven is big), rotating the pan halfway through baking.
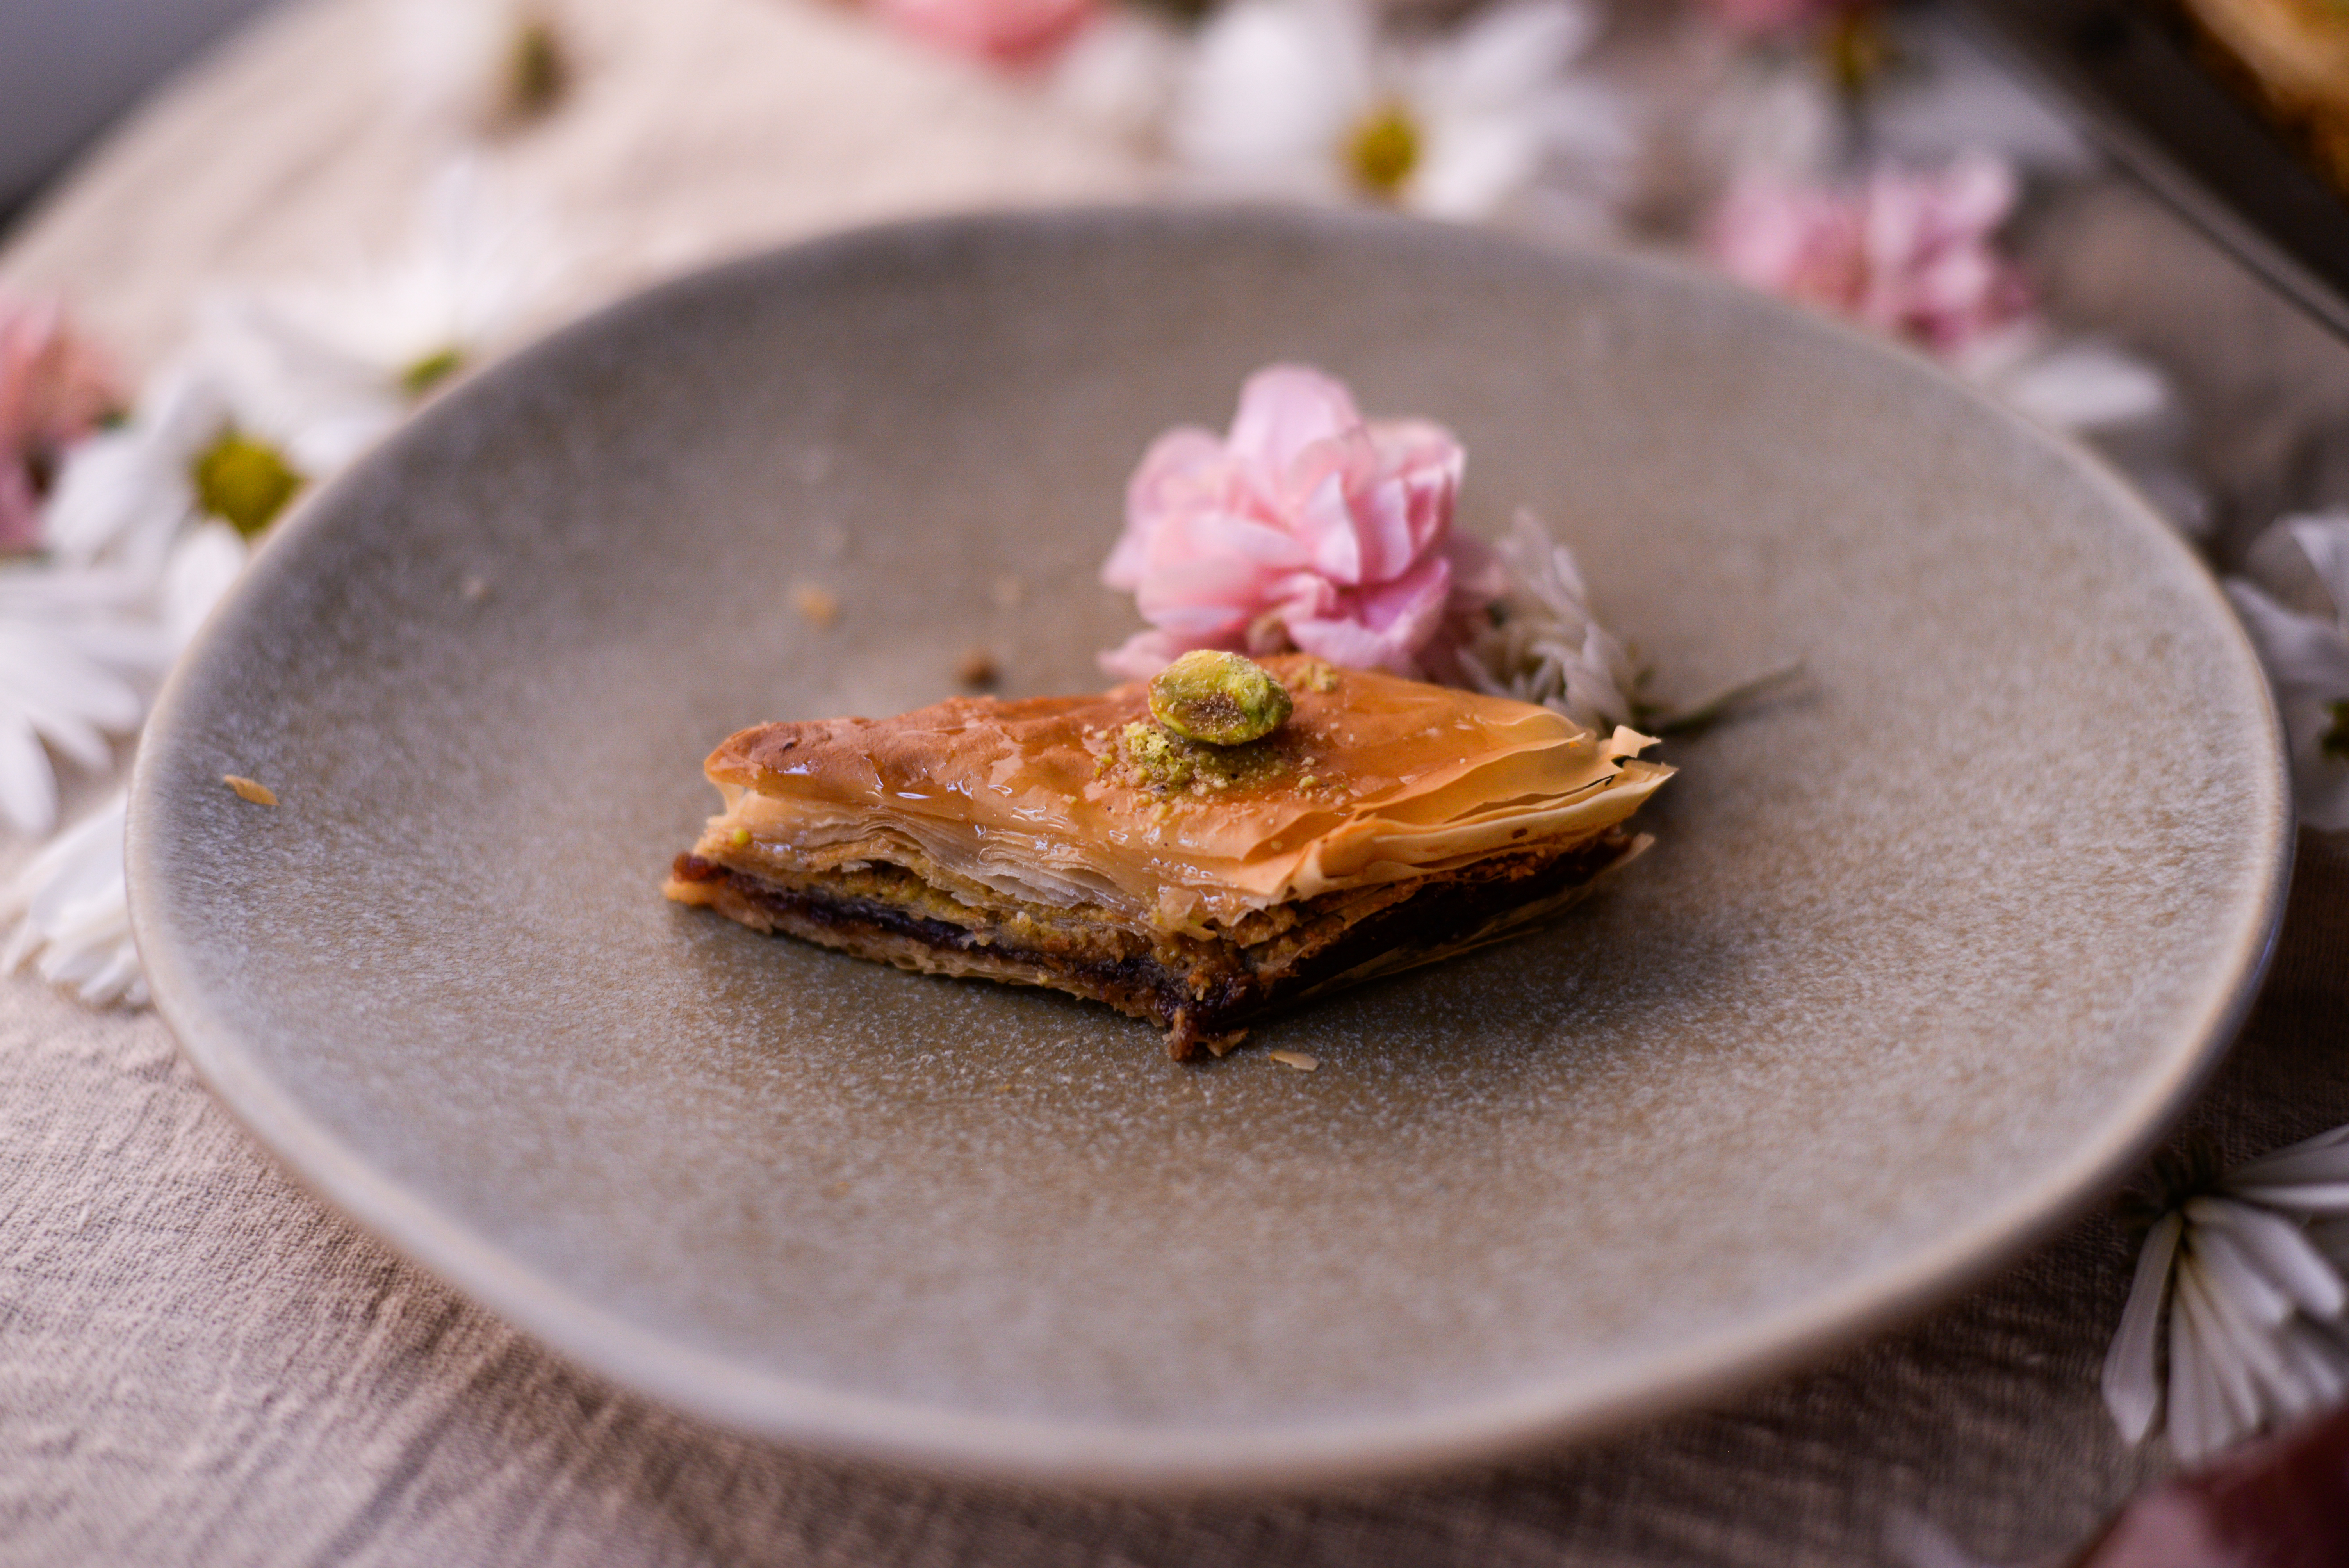
- After removing the baklava from the oven, pour the cooled syrup over cut lines, then drizzle the remaining syrup over the surface. Garnish the center of each piece with a pinch of ground pistachios.
- Be patient, wait until it cools down for at least 3 hours or overnight. The best taste is after it gets moisturized with syrup soaking in. the flavor and texture improved if left to stand for at least 8 hours. Baklava can be stored in a box or cover it with foil and kept at room temperature for up to 10 days.)


I couldn’t tell you how happy we are with the baklavas!! it tastes so fresh, crispy, and buttery in the mouth, the touch of red bean paste gives it a subtle warm hug in the mouth, almost feels like it is the sweet kiss from a girl, and goes so well with the classic pistachio that complements each other. the final touch of the orange blossom syrup tied up together with a fine floral and a tint of lemon sour, the whole baklava is a genius mixture of layers! We keep digging the pan for more, it’s absolutely just like the show from Tim and Eric. 😛
And isn’t it much easier than making mooncakes? The red bean paste gives it a new and better look! Better than authentic as my goal here always!
Happy Mid-autumn festival, no matter how you decide to make it yourself or buy the pre-made mooncakes or baklavas, I hope you have a wonderful festival and enjoy it with your loved ones! Tell me what mooncakes you choice to have this year? 🙂
Stay safe and healthy!
Follow me @gabbie_arciniegas & @betterthanauthentic on Instagram or sign up for the newsletter of the blog! you will get a notification of a new post here!
XO,
Gabrielle


Our dear daughter, you are Wonderful!
Please have with your love, a happy Mid-autumn celebration.
Adore you both 💕
la ma
LikeLike
dear mom, thank you for be the best mom! sending love and big hugs! happy Mid-autumn! adore you so much!! ❤
LikeLike
Dear Gabbie : Thanks for your new post The baklava looks delicious !!
Sending the recipe to Frankie , my grandson ,
His hobby is to bake !!
Autumn is also our favorite season
Have a great and happy Mid-Autumn celebration !
LikeLike
Dear aunt Sarita, thanks so much for reading and sharing my post to Frankie, you are so sweet! I am so glad you enjoy it! Happy Autumn to you all, it’s the good to feeling the season transition with cooling down from the heat!
LikeLike